Most. Help

How to create a Facebook pixel and get its ID and Conversions API token

Published Jul 22, 2026Updated Aug 29, 202610 min readIntermediate
Hand-drawn key with orange outline next to a padlock, representing a Meta Pixel ID and access token pair
What you'll learn
  • What the setup changes in server-side conversion tracking
  • Which identifiers, tokens, and event fields must match
  • How to verify the setup before handing it to automation
Intermediate
4views

Create a Facebook pixel and get its ID and Conversions API token

Conversions API

Related setup guides: event_id and deduplication, pixel warming, Facebook CAPI through Keitaro. To send server-side events to a Facebook pixel — by hand or automated from your tracker — you need exactly two things:

  1. your pixel (dataset) ID, and
  2. a Conversions API access token for that pixel.

This guide walks the full path in Events Manager: create a fresh pixel (dataset), copy its ID, and generate the access token through direct integration. No coding partner required.

Step 1. Connect a new data source

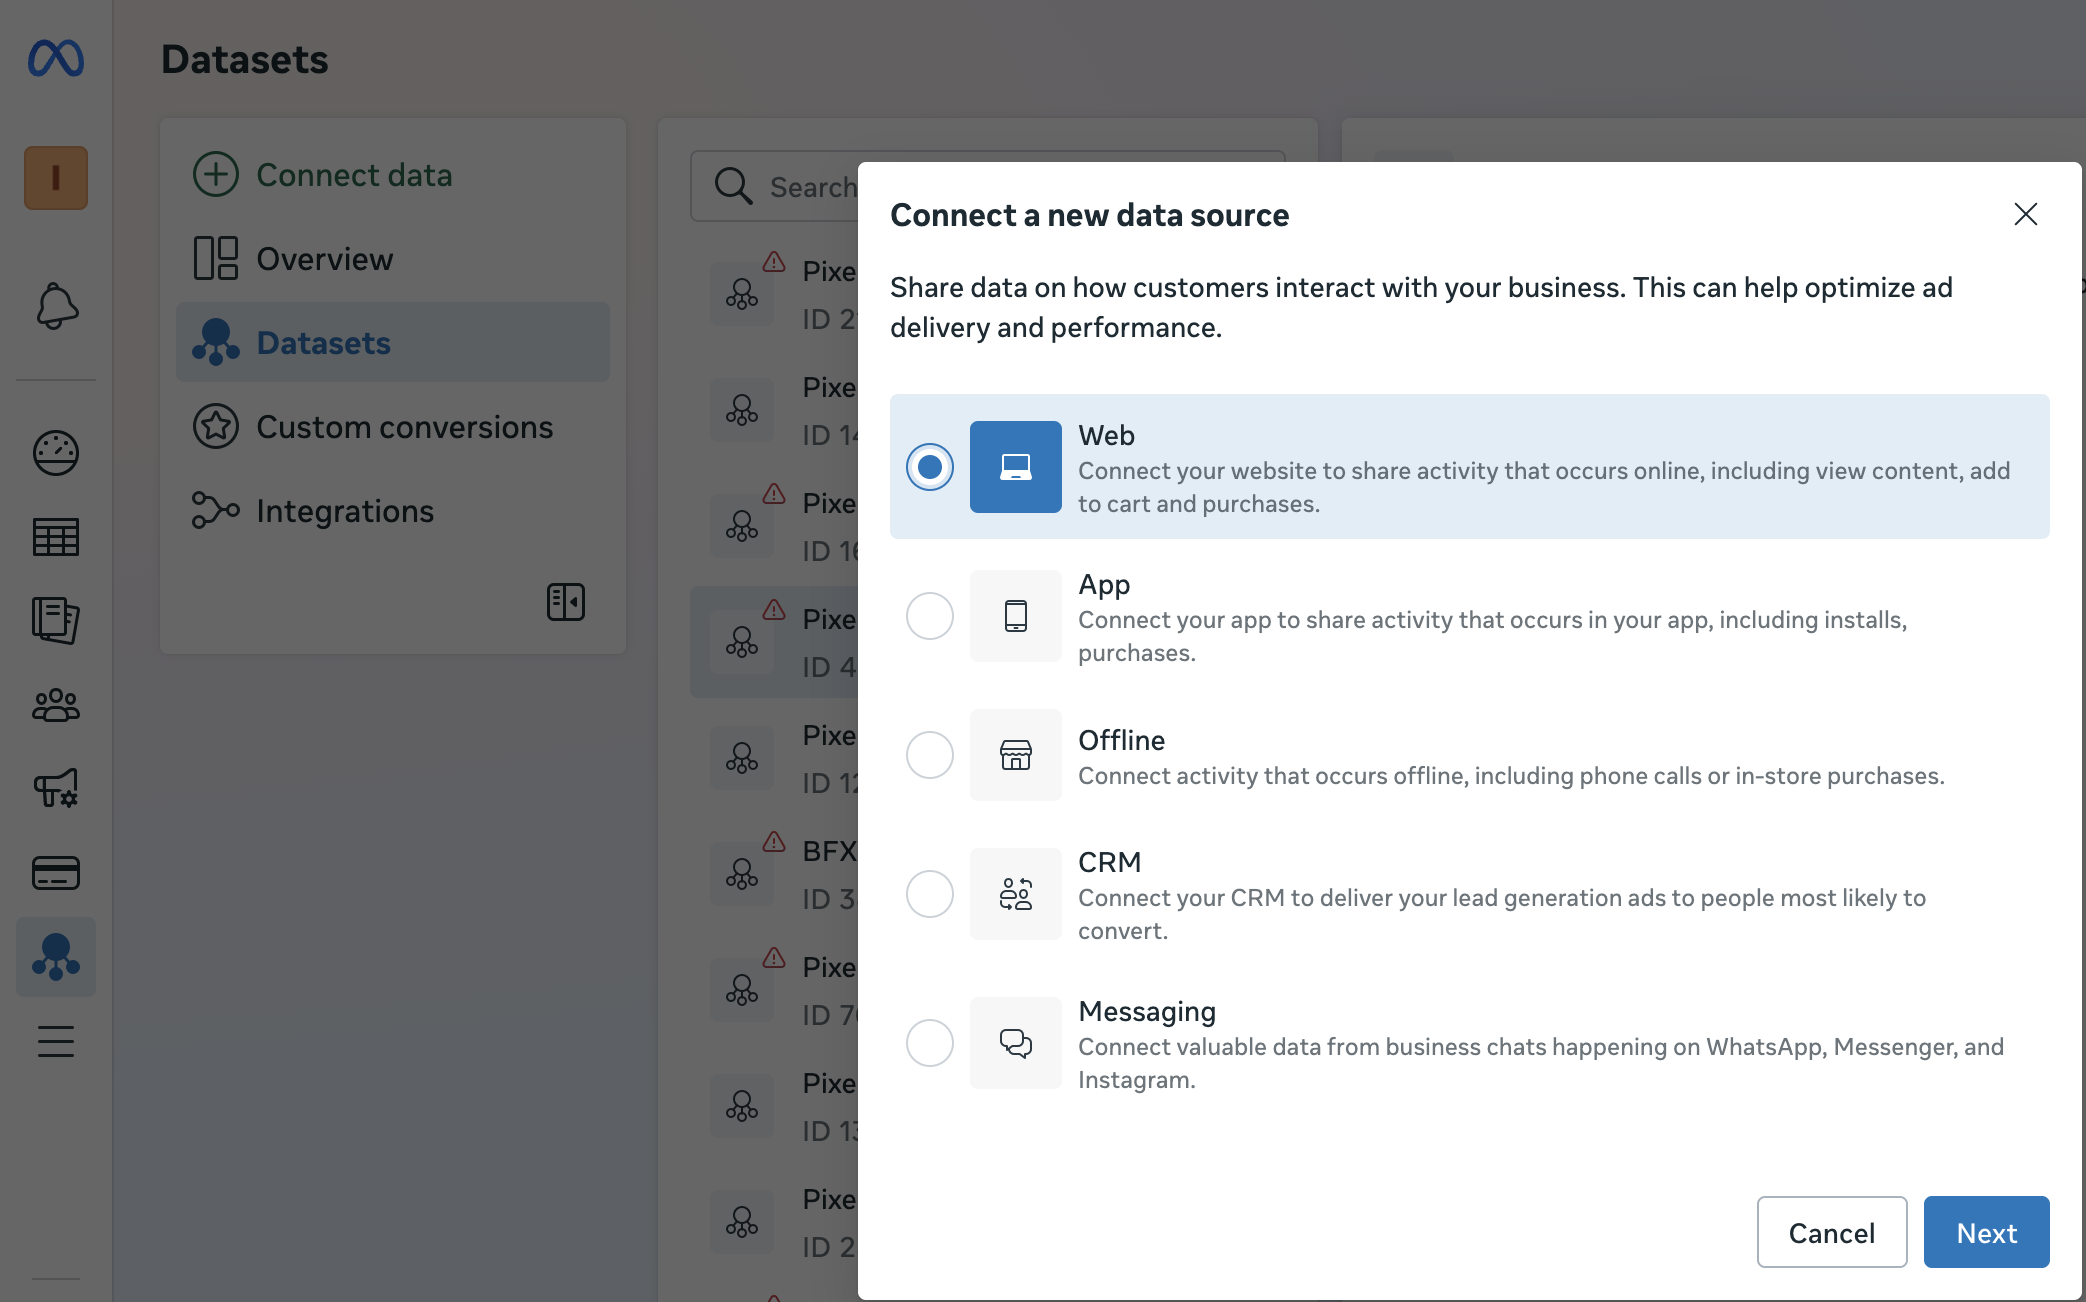
In Events Manager open Data sources → Datasets, click Connect a new data source, choose Web, and click Next.

Events Manager: Connect a new data source dialog with Web selected

Step 2. Create a new dataset

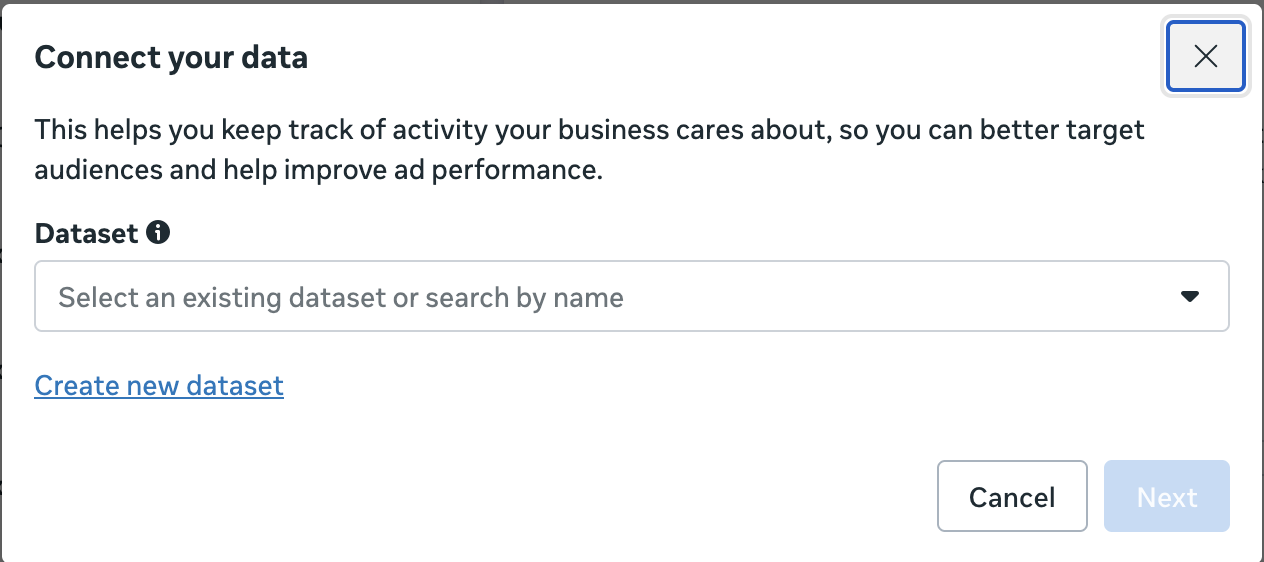
In Connect your data, click Create new dataset (instead of selecting an existing one).

Connect your data dialog with the Create new dataset link

Step 3. Name the dataset

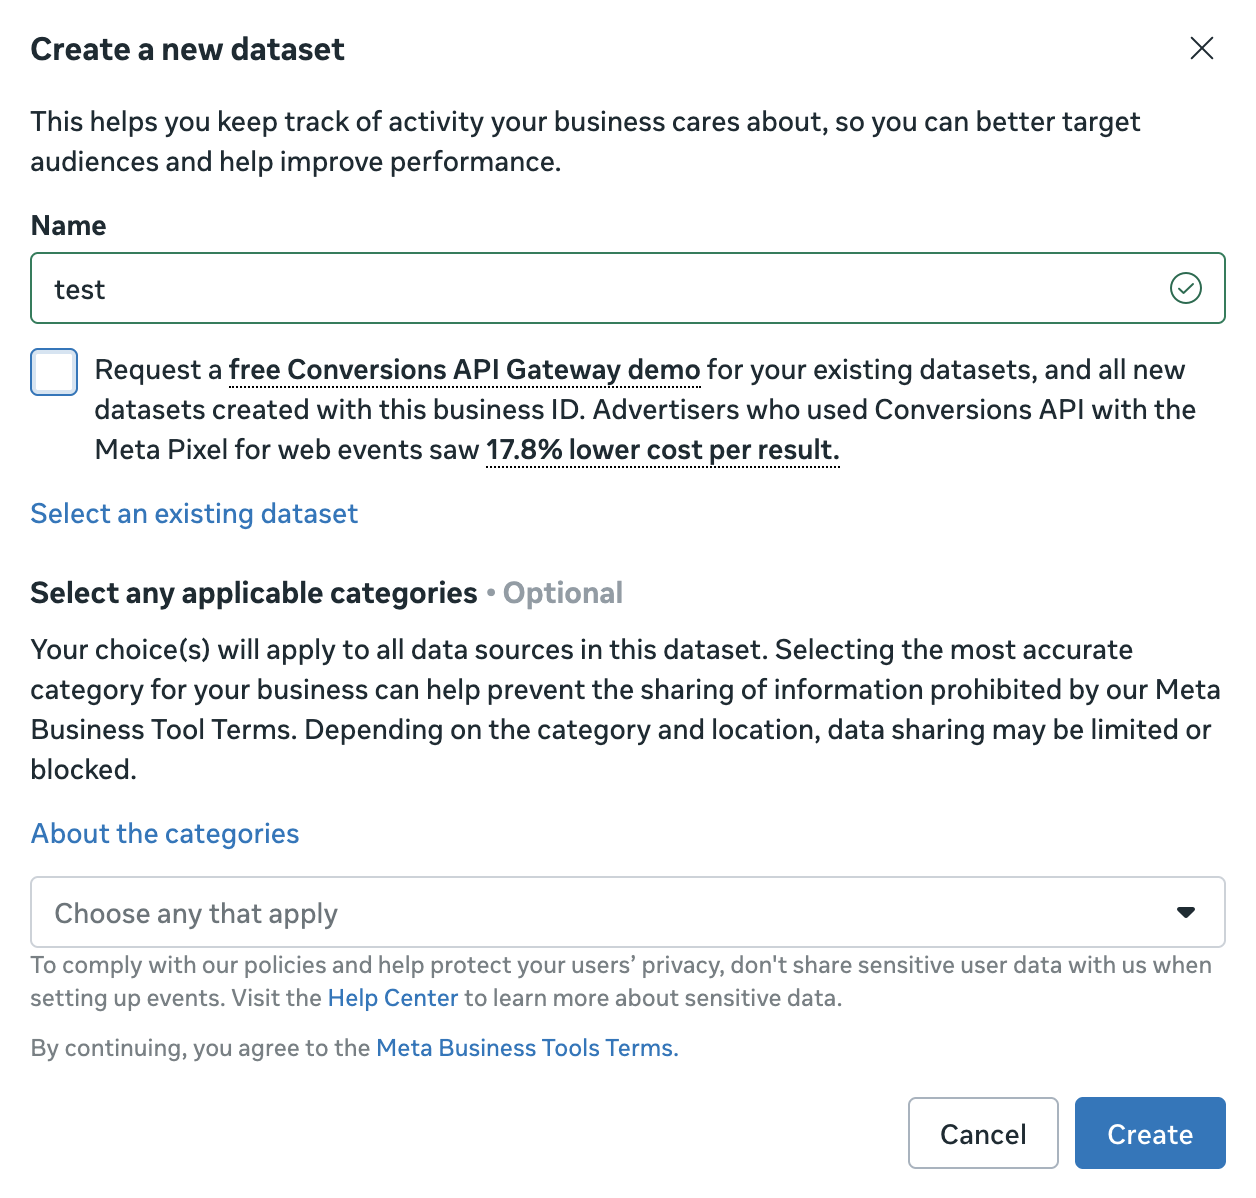
Give the dataset a name and click Create. (The category field is optional — you can leave it.)

Create a new dataset dialog with a name filled in

Step 4. Choose the ad account(s)

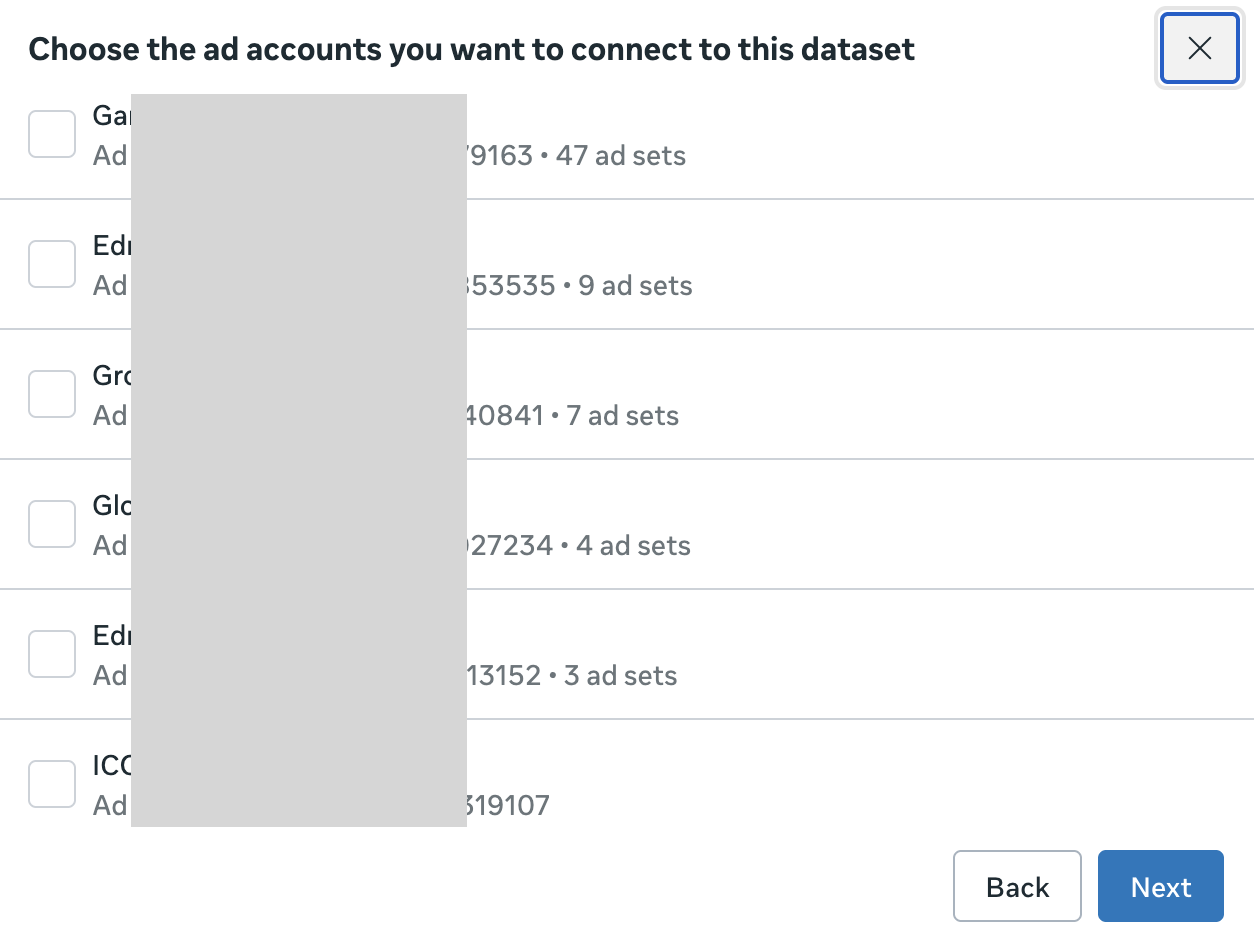
Select the ad account(s) you want to connect to this dataset and click Next.

Choose the ad accounts to connect to this dataset

Step 5. Set up manually

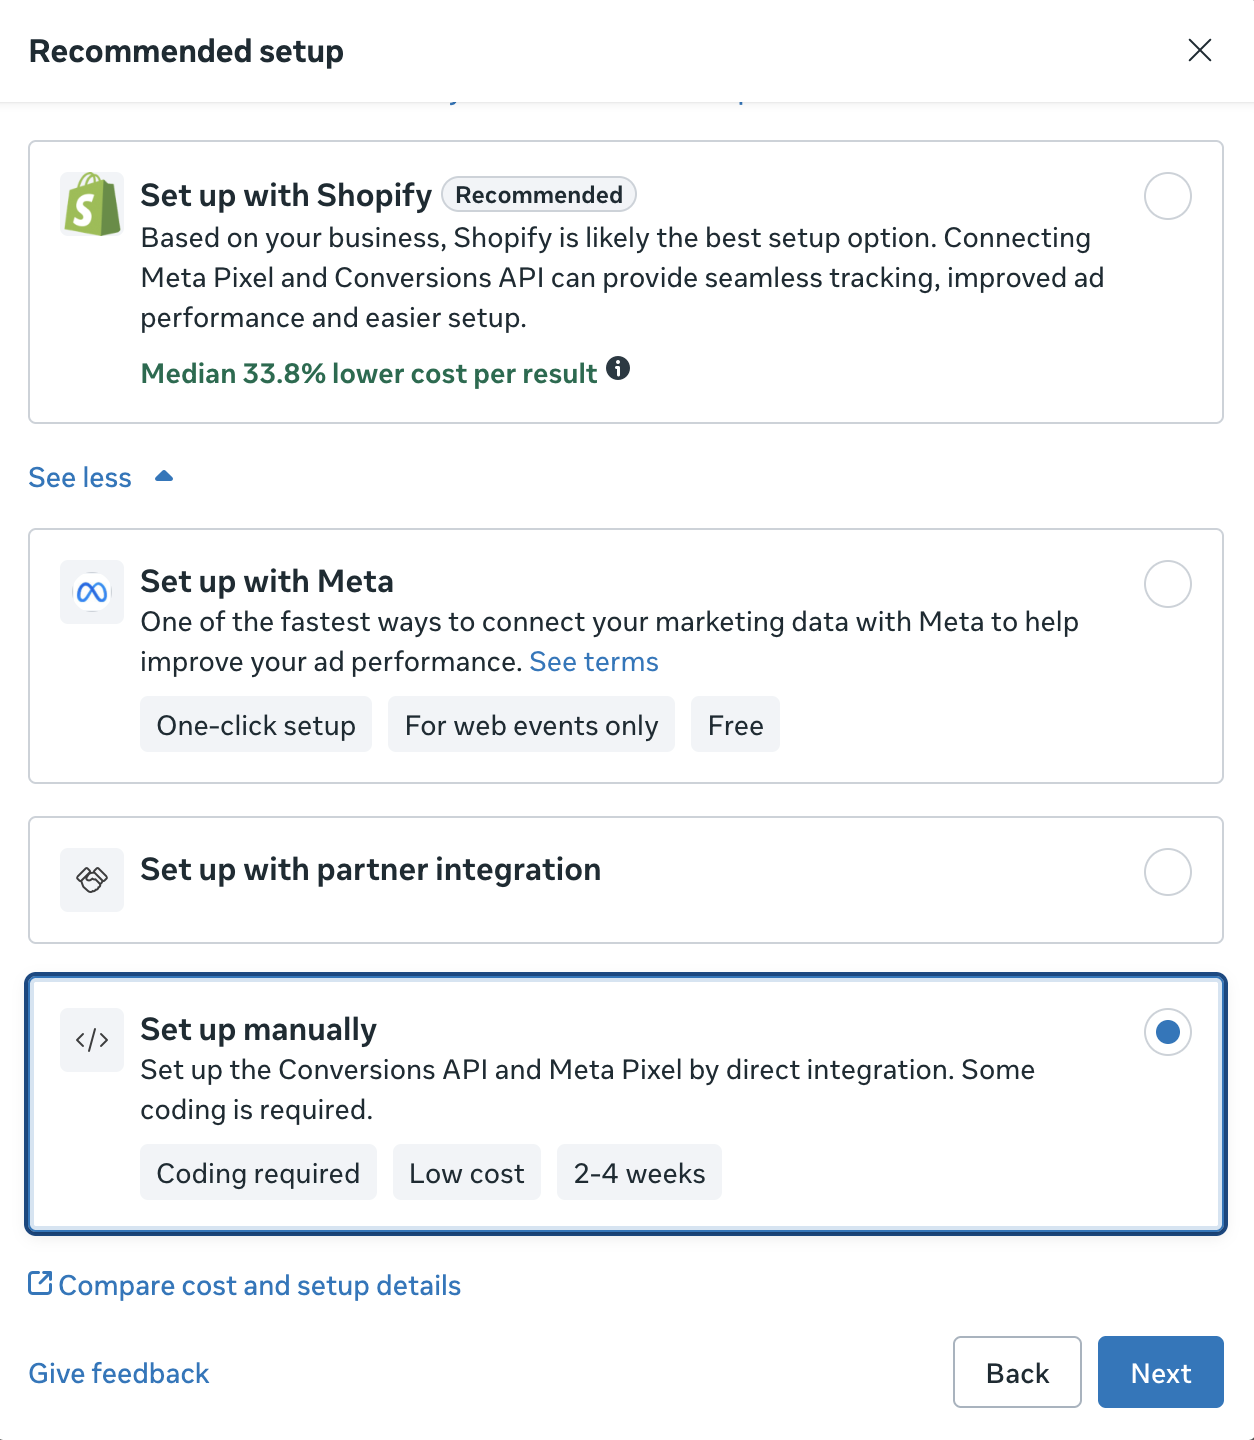
On Recommended setup, pick Set up manually (direct integration) and click Next.

Recommended setup with Set up manually selected

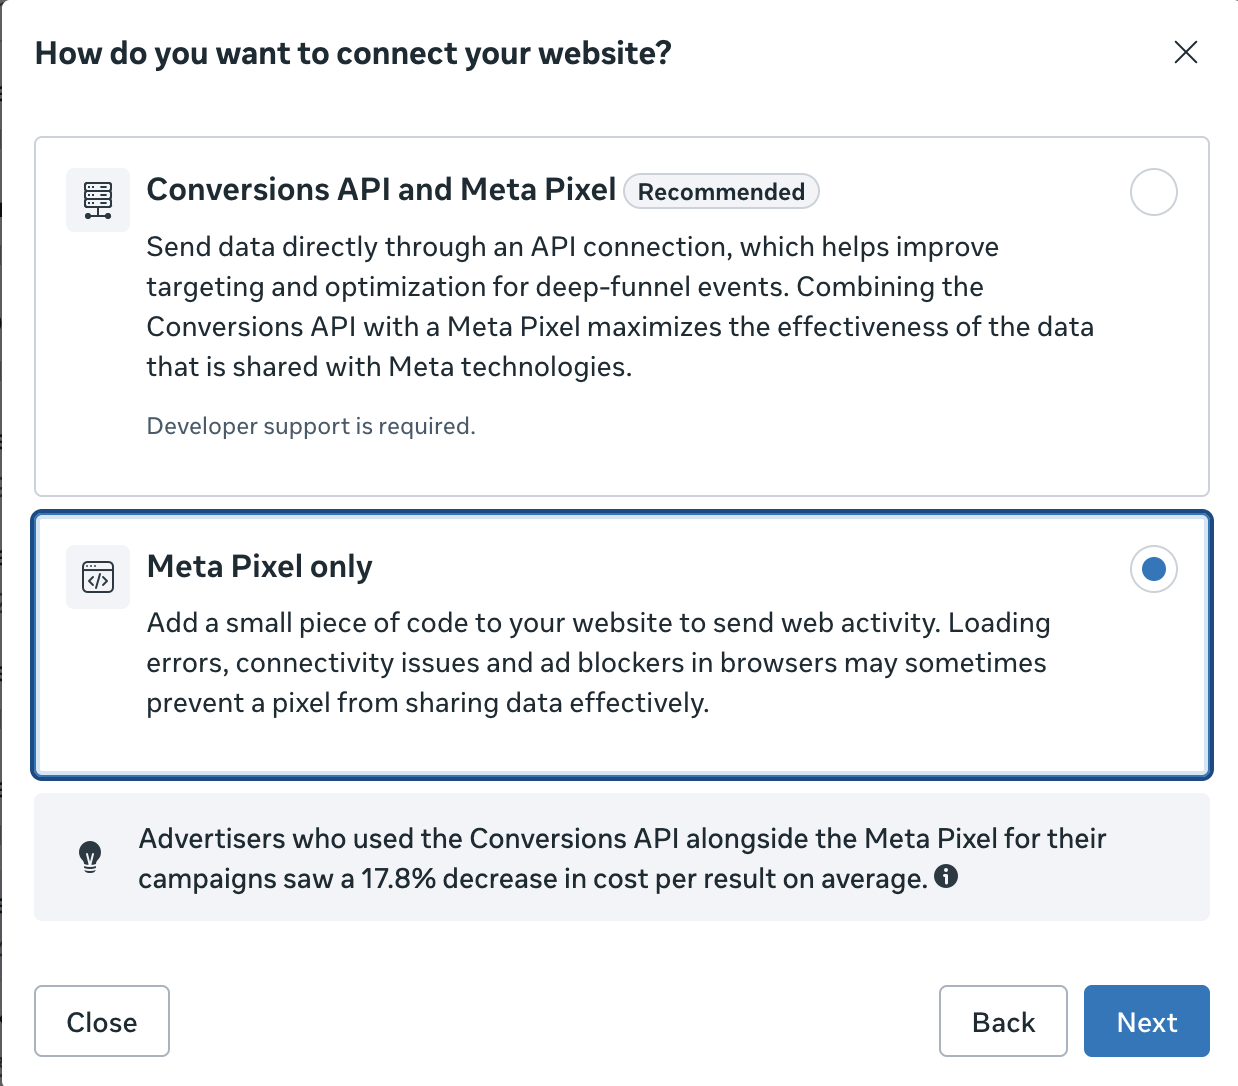
Step 6. Choose how to connect

Choose how you want to connect and continue through to the end of the wizard. Either way, you'll generate the Conversions API token from the dataset's Settings in the next steps.

How do you want to connect your website dialog

Step 7. Copy your pixel (dataset) ID

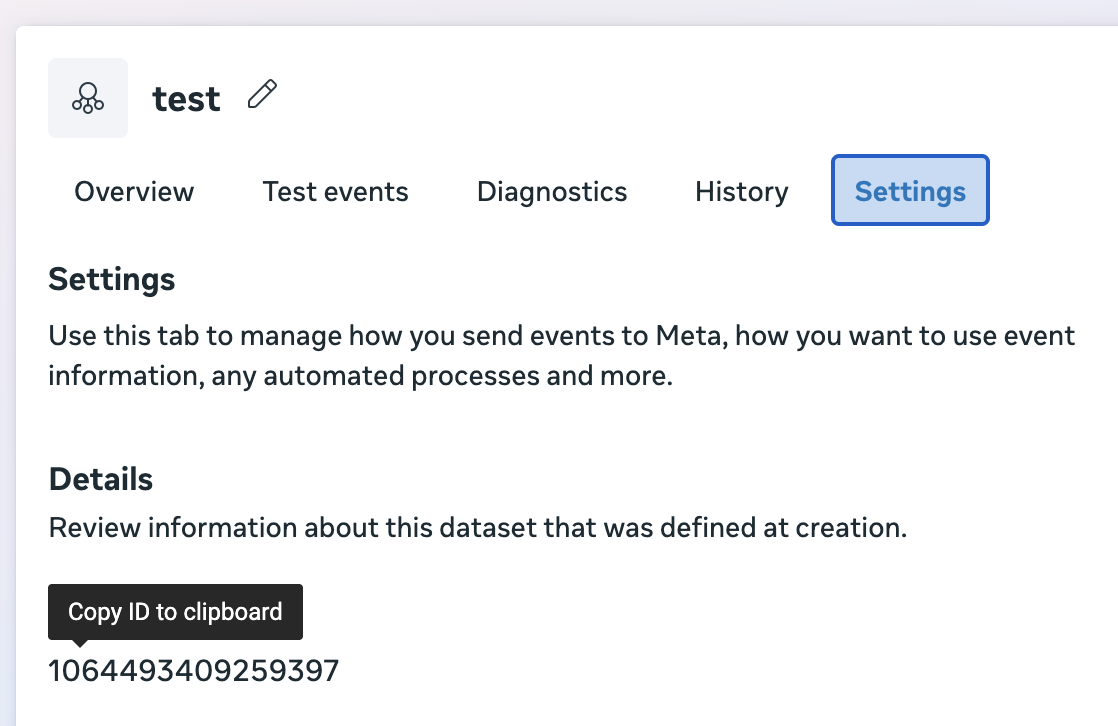
Open your new dataset and go to the Settings tab. Under Details, click Copy ID to clipboard — that long number is your pixel (dataset) ID.

Dataset Settings tab with Copy ID to clipboard under Details

This is the pixel_id you'll paste into Most or the Pixel Activator.

Step 8. Generate the access token

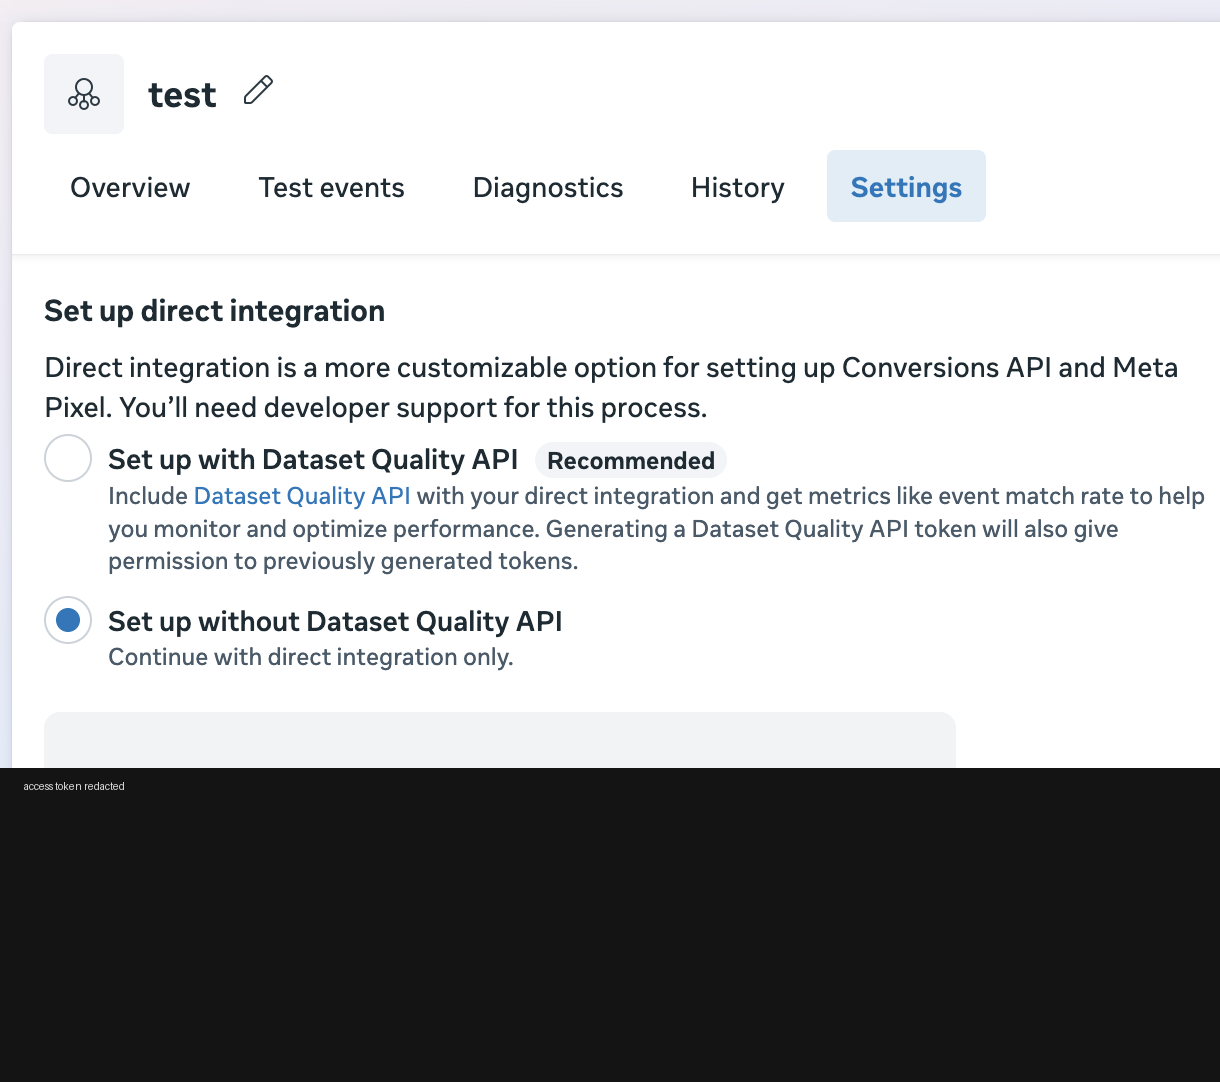
Still in Settings, find Set up direct integration. Select Set up without Dataset Quality API (“Continue with direct integration only”), and the access token is generated below.

Set up direct integration with Set up without Dataset Quality API selected; the access token is redacted

With or without Dataset Quality API? The recommended option adds match-rate metrics but pulls in extra permissions. For a plain server-side integration, without Dataset Quality API is enough — that's the path this guide uses.

Save the token now

The token is shown once Meta does not store this token for you — “Copy and save this token somewhere safe. It won't be stored by Facebook.” Copy it immediately into a password manager. Lost it? Just generate a new one.

Treat the token like a password: it can send events to your pixel. Never commit it to a repo, paste it into a public chat, or put it in a URL.

What you can do now

With your pixel ID and access token you can send server-side events immediately:

  • Test it in seconds — paste both into the free Pixel Activator and fire a few events to confirm the pixel and token work.
  • Automate it — connect your Keitaro tracker to Most and let conversions flow to the pixel on a schedule, with deduplication and field mapping handled for you.

Put your new token to work

Automate conversions from Keitaro to your pixel with Most — or fire a quick test right now with the free Pixel Activator.

Frequently asked questions

Sources

Sources


Labels in Events Manager change from time to time. If something looks different, Meta's official Conversions API — Get started guide is the source of truth.

Was this guide helpful?
Author
Most Team
Справочная служба

Официальные руководства и глоссарий для платформы Most и Активатора пикселей.

Topic
Meta Conversions API: The Complete Guide
Main article of the topic
Related articles

Related guides

Meta Conversions API: The Complete Guide

A single entry point into the Meta Conversions API cluster: what the API does, which credentials and parameters a working event needs, how deduplication and validation fit together, and where each specific failure - a late event, a double count, an error code - has its own deep-dive guide.

10 min

Meta CAPI Batching and Rate Limits: The Delivery Rules

The Conversions API accepts several events in one request - and one bad event can fail the whole batch. This guide covers the documented batching structure, the acceptance rules that decide whether a request survives, what a rejected batch means for retry logic, and the delivery discipline that keeps a busy funnel inside the platform's limits without guessing at undocumented numbers.

6 min

Lead Ads CRM CAPI: Closing the Lead Loop in Meta

A Lead Ads form fills your CRM; the lead that actually buys is the one worth telling Meta about. This guide wires the loop: from the form's instant delivery into your CRM, through confirmation and hashing, to a documented CAPI lead event - with dedup and the seven-day window deciding how late a confirmed lead can still count.

6 min

Limited Data Use Meta: data_processing_options in Server Events

Meta's Limited Data Use flag exists so your server events can carry a US state-privacy signal - and it is three documented fields inside each event. This guide explains what data_processing_options does, the exact LDU values and country and state codes, the empty-array semantics most setups miss, and when sending the flag is the right call.

5 min